Spidergear
Members
-
Joined
-
Last visited
-
 Pontokie reacted to a post in a topic:
SOLD - 2 x Hubble Lithium AM2 batteries and Cloudlink for sale
Pontokie reacted to a post in a topic:
SOLD - 2 x Hubble Lithium AM2 batteries and Cloudlink for sale
-
Item: 2 x Hubble Lithium AM2 batteries and Cloudlink Age: Bought brand new on 10 September 2022 Price: R40 000 for everything. Payment Method Accepted: Cash/EFT Warranty: Balance of 10-year warranty, 15-year design life for the battery cells. Packaging: No Condition: Excellent/Brand New Location: Randburg Reason: I got a bargain on some Pylontech batteries so I no longer need these. Shipping: Definitely not Collection: Yes
-
-
-
-
-
Very nice! I really like my Victron setup.
-
-
Nicely done! How does this work if you have 2 or more batteries in parallel?
-
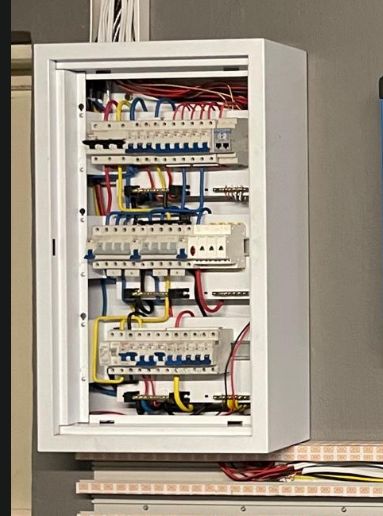
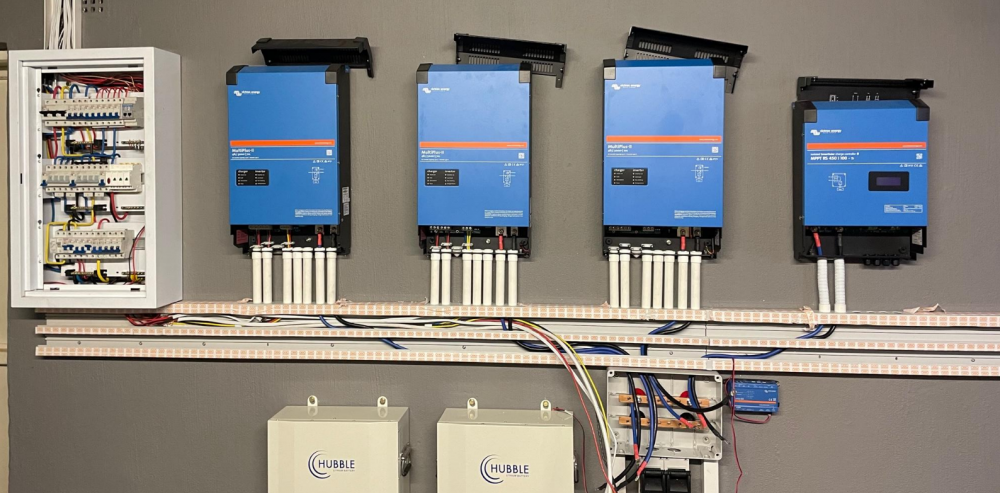
Whatever DB size was specified, make it bigger! This is the new DB I installed in the garage and I completely filled it up with the various breakers/changeover switches.
-
-
-
-
-
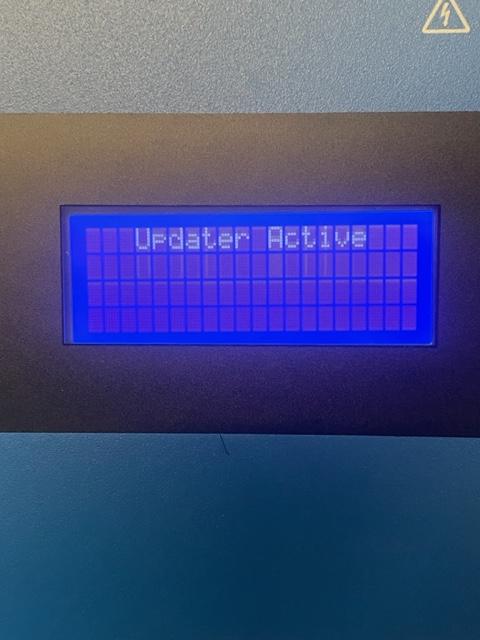
Completed the assembly of the Renusol TS+ components and installed/wired the panels on Saturday/night. Will post a photo of the solar panels on the mounting hardware. Updated the firmware of the Smartsolar 450/100 and we were good to go. I ran out of sprag over the weekend so I still need to tidy up the cabling to the MPPT and the batteries. I also need to redo the DC cabling from the Inverters to the busbar as they are not all the same length and the inverter with the shortest cable is working the hardest. Here are the stats for today. Overall I'm very happy with the outcome.


-
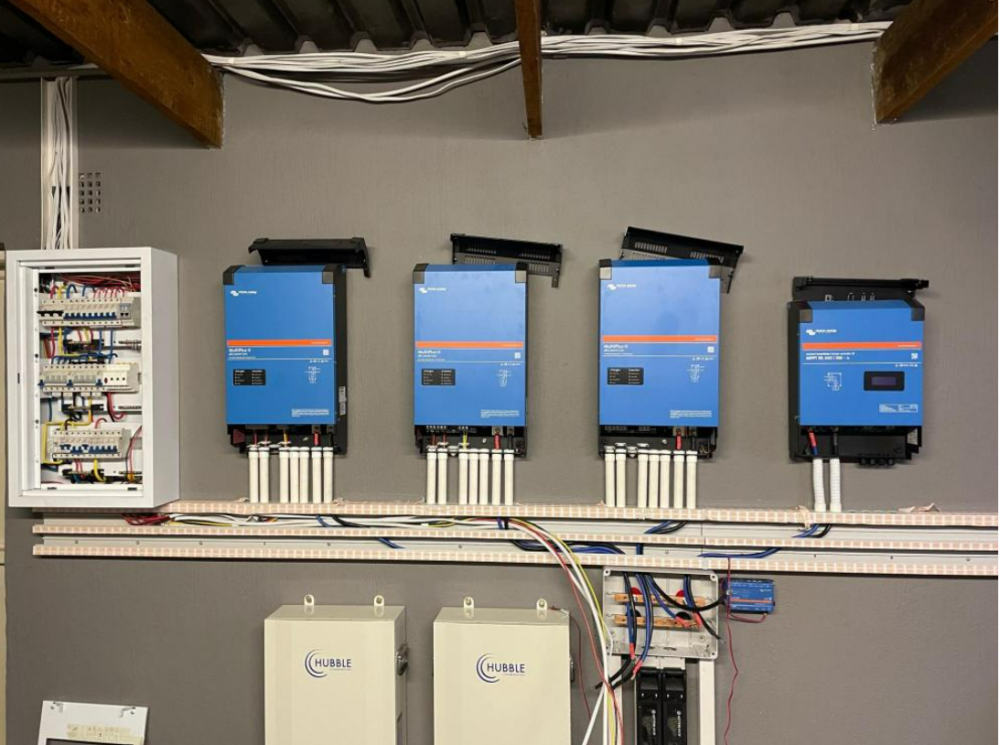
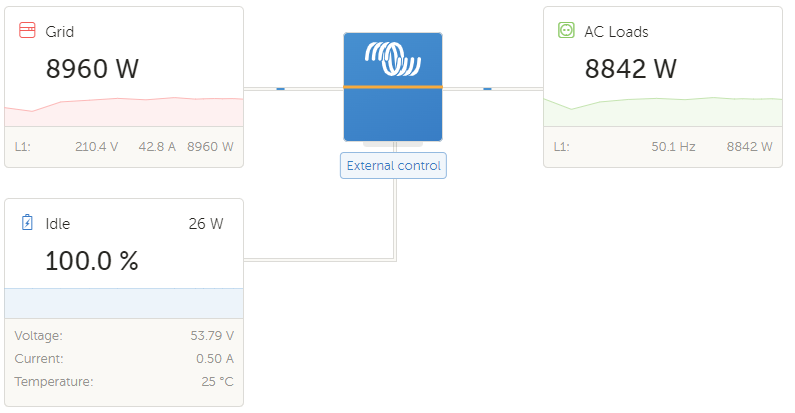
The solar side is no where near completion but I wanted to get the inverter and batteries online so I can give the middle finger to loadshedding. Connected all the inverters together with the cable I made, fired up the laptop and connected the MK3 interface to the VE.BUS port of the left inverter which will be the master, the other 2 will be slaves. The VE.Bus Quick Configure tool makes it very easy to setup a parallel or 3 phase system. They all have to be of the same type and firmware version. I had to update my master to the latest firmware and it was good to go. Did some basic config using VEConfig and BAM, we are online on VRM! Looking at these load figures I seriously need to pull my finger out and get the solar panels up and running. I'm keeping City Power afloat all by my self!

-
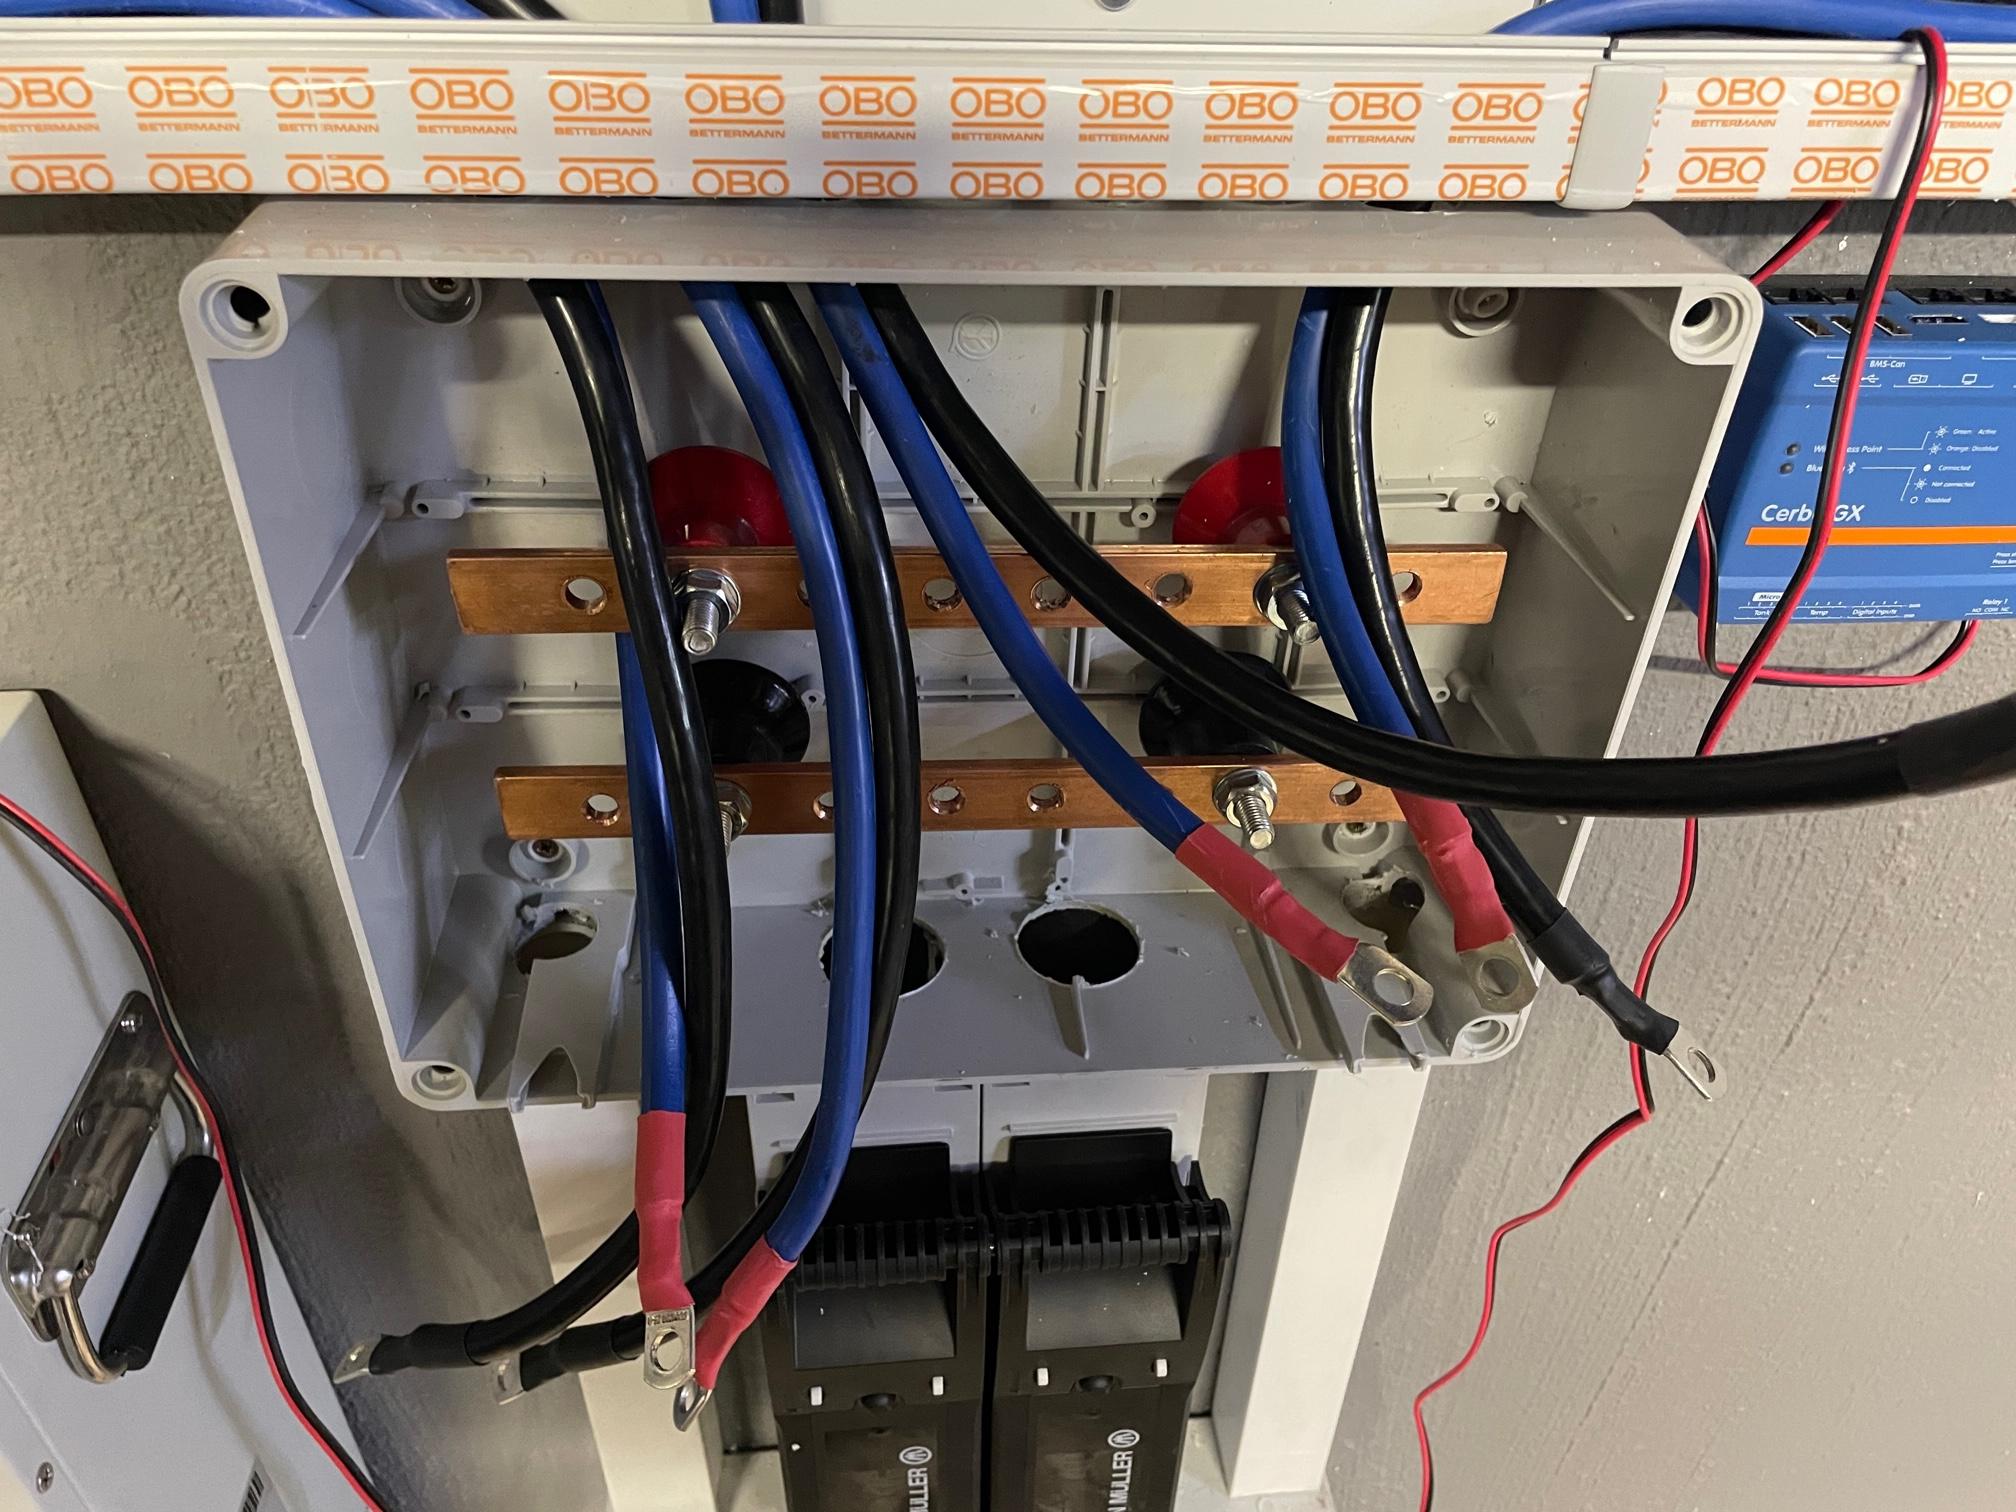
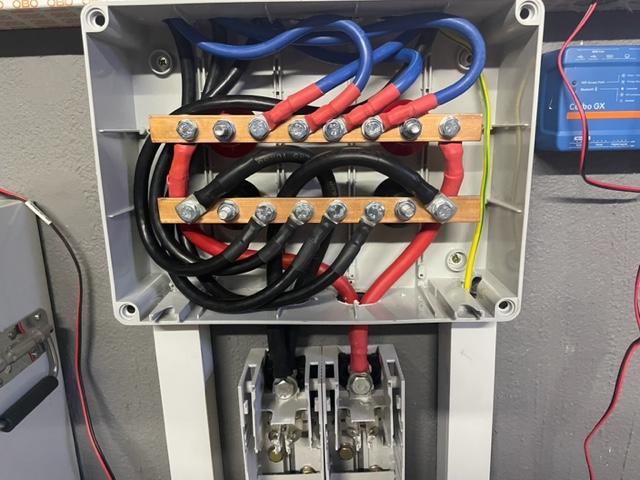
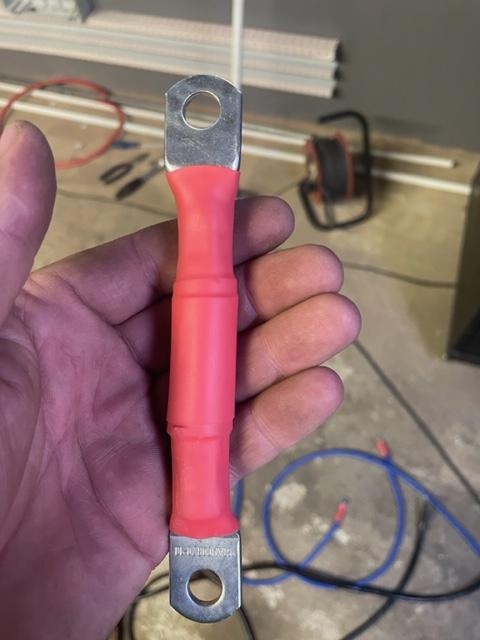
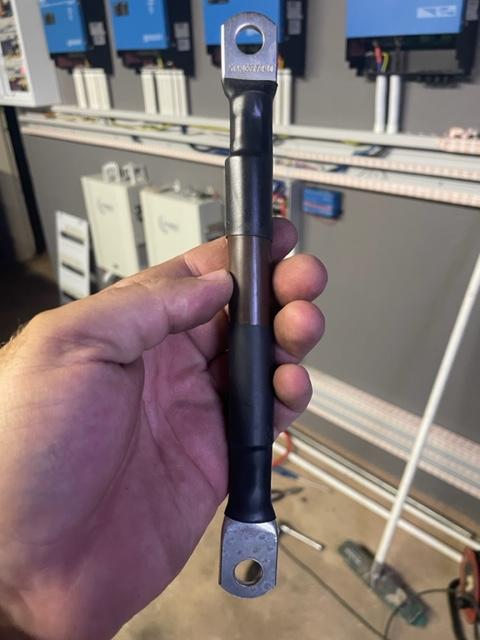
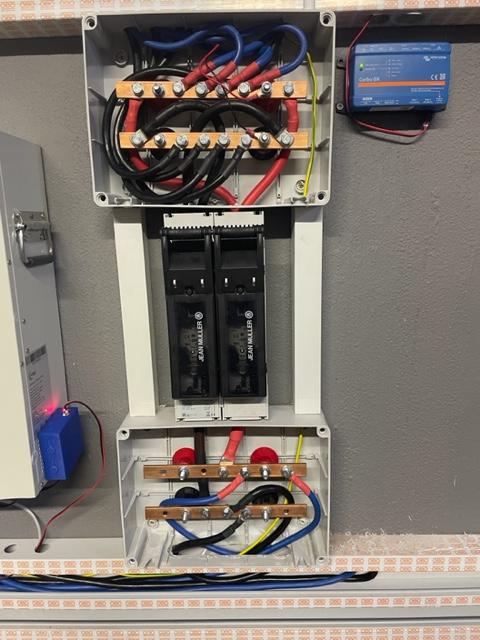
Finished making all the DC cables. I simply could not get the 75mm cable to fit in the top busbar enclosure so I resorted to 2 x 50mm. I have a severe disliking in working with anything over 6mm! 🤣 Finally complete!
-
Thanks. I like to do things the right way the first time, and it gives you a great sense of satisfaction when you stand back and admire your work.
-
Spidergear changed their profile photo
-
Mounted the third inverter last night and started with the wiring. Wil be adding a separate earthing wire for the cases tonight. Started with the battery wiring as well. Couldn't find red cable so blue will have to do. Each inverter and solar controller battery wiring is 25mm. I will be running either a single 75mm or 2 x 50mm cables from the busbars to the KETO disconnect.


-
Added the Carlo Gavazzi ET112 and some indicator lights so I can see what the grid/outputs are doing. These are not the final installation locations, I just needed to mount them so I can see how much space I have left in the DB.


-
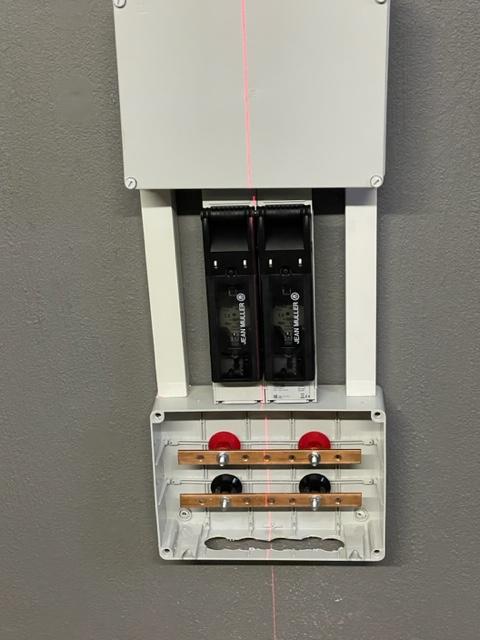
Spent sometime last night installing the 2 busbar enclosures, KETO disconnect and batteries. Left some space on the right hand side for 2 additional batteries. Also started with mounting the brackets for the solar panels. I still need to set the angles and mount the rails. There will be 2 rows of 14 panels each. The purlins are not in line hence the kink you can see half way down.


-
There will be 2 busbars per enclosure. One enclosure above the battery disconnect and one below. The batteries will connect the busbars at the bottom and the inverters/MPPT controllers to the top one.
-
Wiring of the DB started. Stated with the installation of the trunking. The OBO stuff from O-line is really nice to work with. Big thanks to @HiTech for pointing me in the right direction. Still have to the enclosures with the busbars, KETO disconnect and the bottom trunking for the batteries.


-
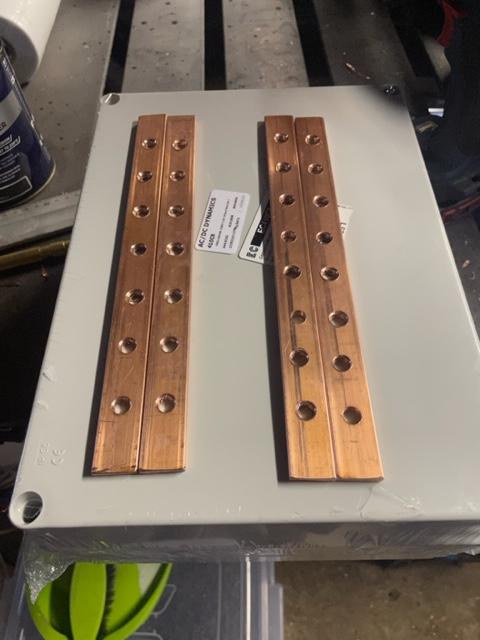
Work has been keeping me busy, so progress has been slow. Made some busbars for the batteries and other equipment to connect to.

-
Yes, I couldn't mount the new equipment on a wall looking like that! My OCD will drive me up the wall!